What is color correction? Your starter guide
Learn what color correction is, how to use it in your editing software, and more.


Color correction is a crucial part of the video editing process. Learn what it is, how it works, how it differs from color grading, and more.
We’ll discuss:
- What is color correction?
- Color correction vs. color grading: What’s the difference?
- AI color correction: How good is it?
- Color correction software: Which programs can you use?
- Color correction tutorial: The basics
- How to access color correction in DaVinci Resolve
- How to access color correction in Premiere Pro
- How to access color correction in After Effects
What is color correction?
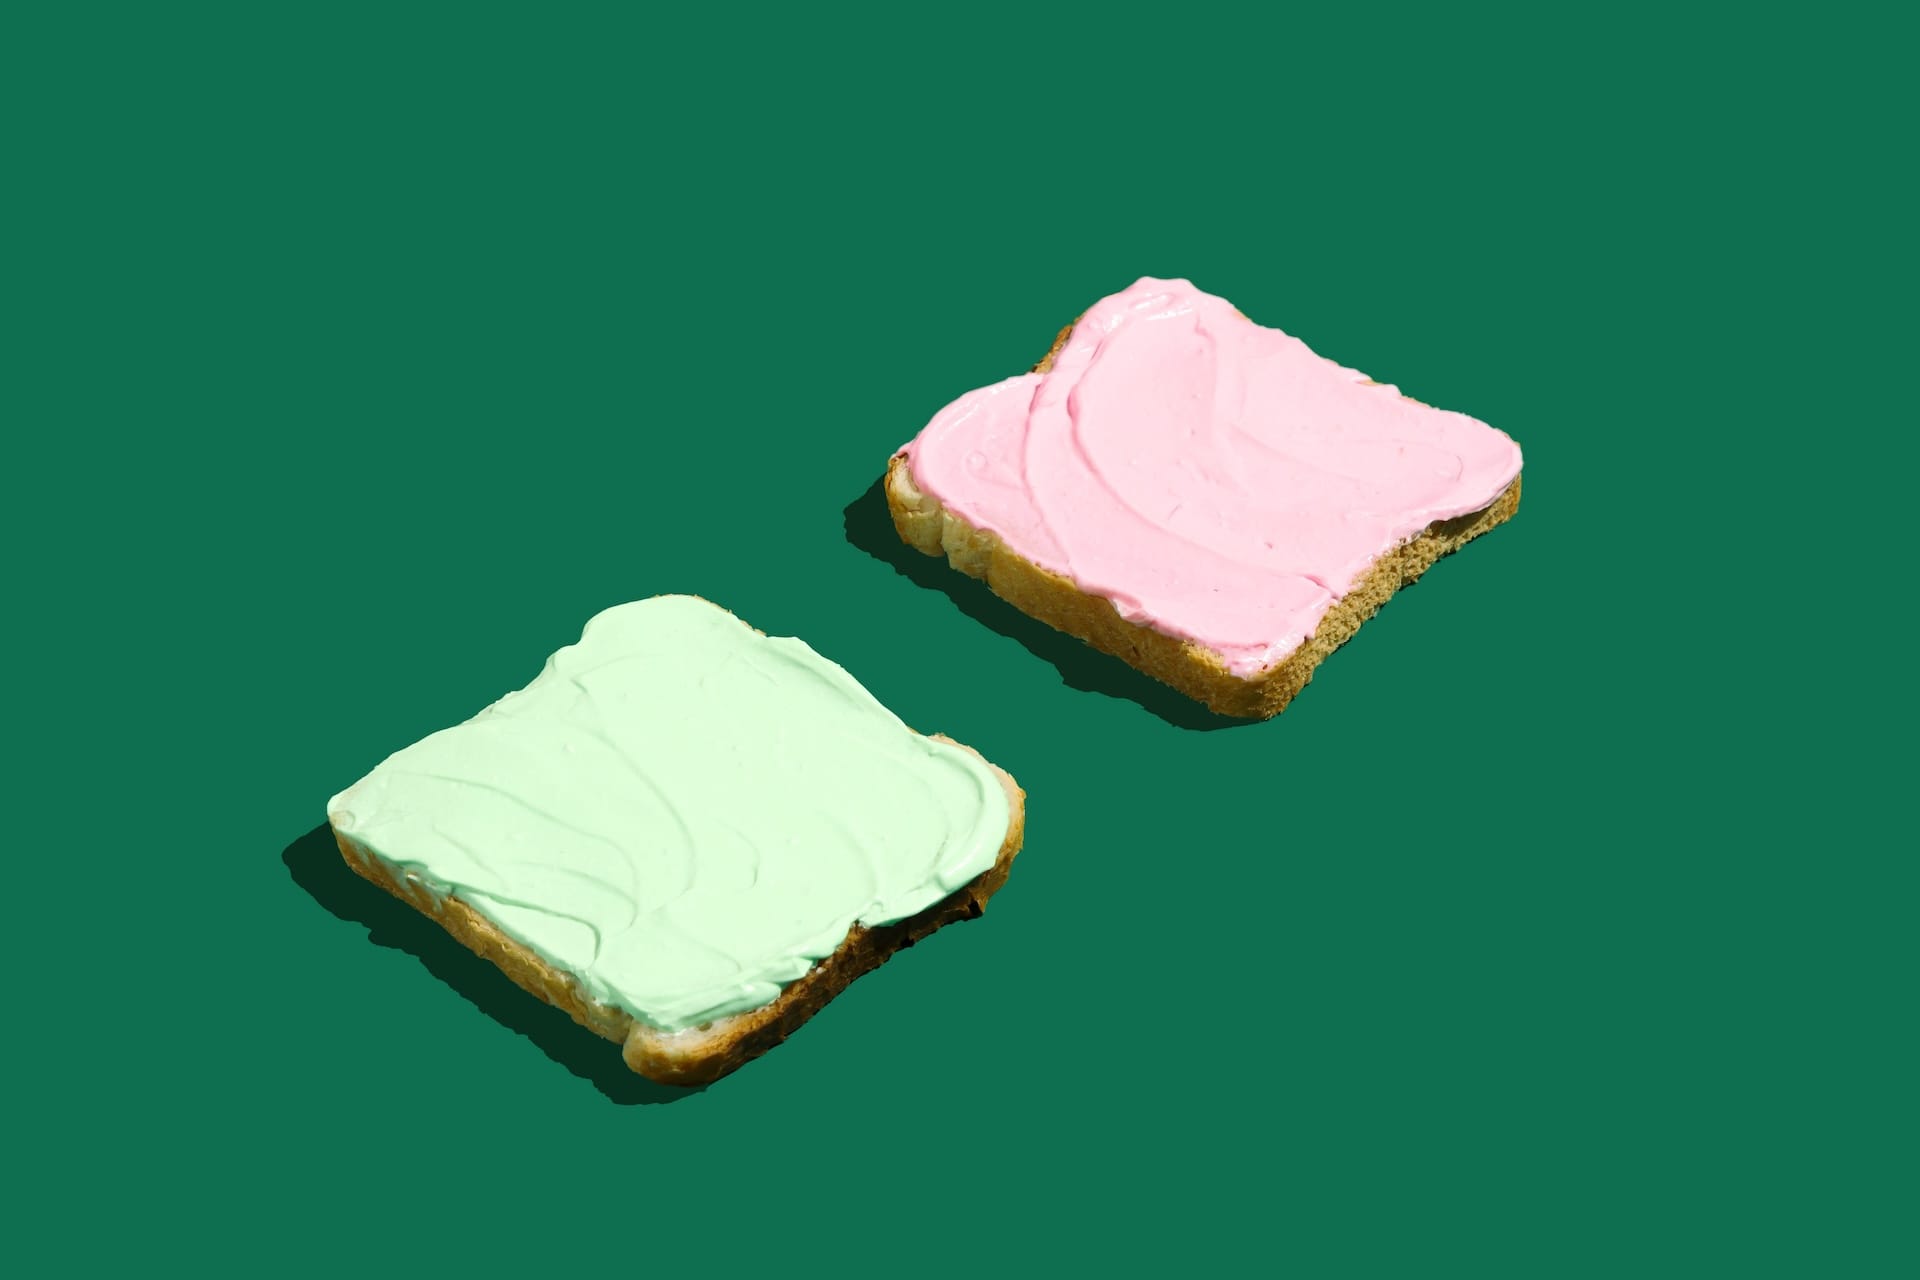
Color correction is an editing process that balances the color values of footage or images. The point of color correction is to achieve a natural finish that makes sense to the human eye.
You might want to color-correct so everything looks like it was shot under the same circumstances, or to recover details from over/underexposure. It’s a baseline from which to work, ensuring your content “matches.”
Once you’ve color-corrected your footage, you can roll your sleeves up and start doing all kinds of far-out edits with color grading.

Color correction vs. color grading: What’s the difference?
Color correction is a technical process broadly based on contrast, exposure, and white balance. Think of it like spell- or grammar-checking a document — it’s there to keep everything in line. These processes aren’t the most glamorous, but they’re crucial for what comes next.
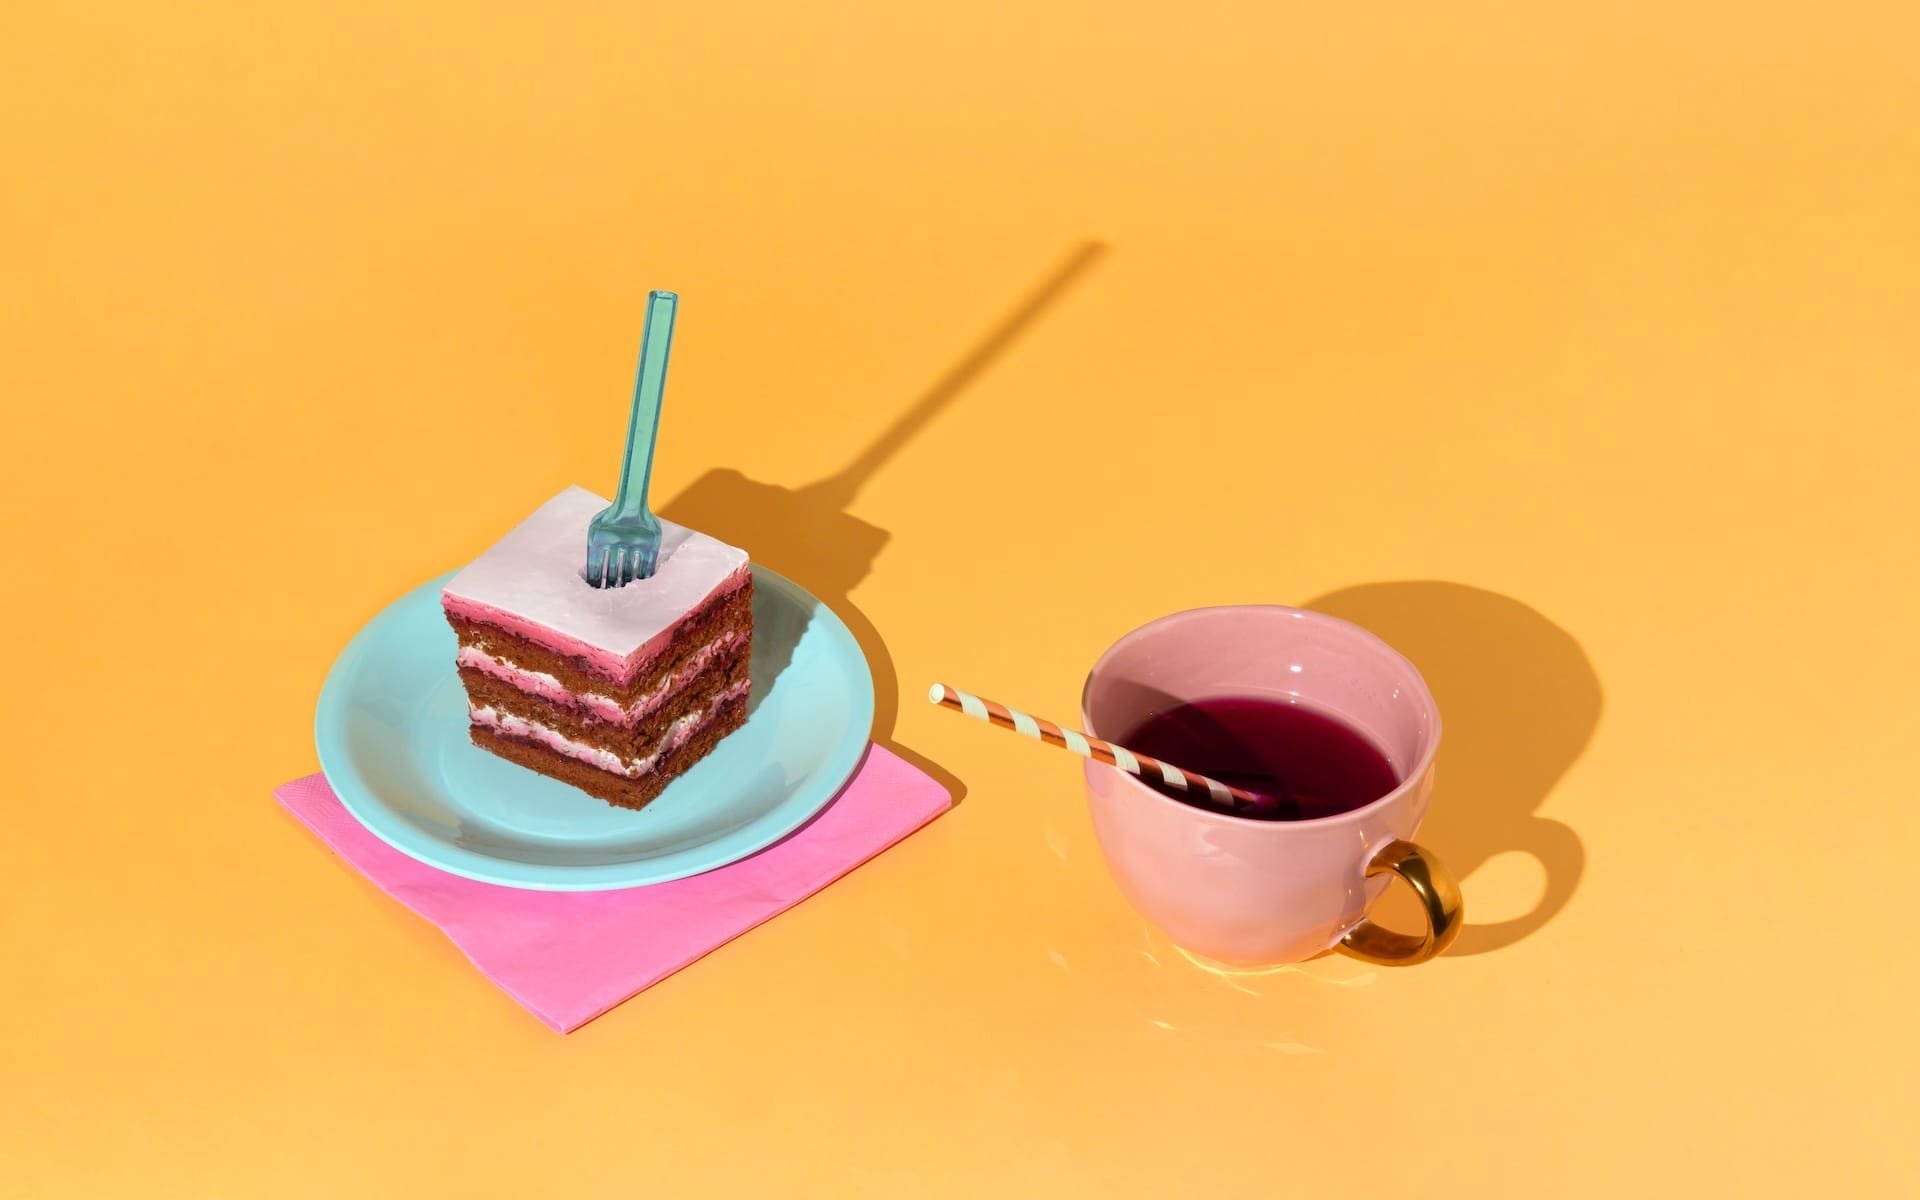
And what comes next, more often than not, is color grading. This is less technical and more expressive, establishing moods, tones, and even locations based on color.
For example, the much-memed Breaking Bad color grade lets viewers know they’re south of the border by making everything…yellow. It’s a visual shortcut that’s become so popular, you can now download a Breaking Bad LUT.
@movieluts Replying to @KordWave close. Or as they would call it - Mexico LUT. #breakingbad #mexico #breakingbadedit #colorgrading #videoediting #beforeandafter ♬ Breaking Bad Main Theme - Geek Music
While we’re on the topic, both color correction and color grading can be enhanced with lookup tables (LUTs). These are formulas you can apply to your content to adjust the color values. You could use an input LUT to “flatten” your footage during color correction, or a look LUT to fast-track a specific color grade.
While there is a difference between color correction and color grading, the terms are used interchangeably nowadays. It likely won’t cause confusion if you use one in place of the other, as they’re often discussed in the same context — but it’s worth knowing which is which!

AI color correction: How good is it?
Creative folks have integrated AI tools and processes into their workflows for a few years now. But what about AI color correction?
On one hand, you have DaVinci Resolve, which delivers powerful, pin-pointed color correction. Resolve comes bundled with a feature called Shot Match, which uses AI to create a consistent color value.
On the other hand, there are tons of free, color correction-specific AI tools available online. Free programs like CapCut also have their own AI-powered color correction algorithms.

While these tools and features are intriguing, it’s hard to recommend them whole-heartedly over manual color correction. Only you know what the “base” color values should be, and only you know what the final color grade should look like. These factors all weigh into the color correction journey — for that reason, we’d suggest trying it manually first.
Color correction software: Which programs can you use?
Color correction is a pillar of the video editing process. As such, you’ll find tons of programs — both free and paid-for — that’ll get the job done.
On the free side, you have programs like iMovie and GIMP. The former offers automatic and manual correction, while the latter runs a basic Color Balance tool for images. And, as we just covered, CapCut has a free AI color correction tool.
Once you explore paid-for color correction in Photoshop, Adobe Premiere Pro, After Effects, Lightroom, and DaVinci Resolve, you can peel back the layers a little more. These pro-grade programs give you the freedom to manually color-correct, or run it through an AI-powered algorithm if you’d like to experiment with such tools.
Color correction tutorial: The basics
While this isn’t a one-size-fits-all color correction guide, there are a few basics you’ll need to know. You can then apply that knowledge to color correction across various software and apps — most of them should be able to accommodate these basics.
Every value changed during color correction will affect something else. For this reason, we’d advise following the below four steps in order.
1. Set your color profile
Color profile helps your software understand what kind of video format you’re working with. For example, color correction for HLG is different to HDR10 — using the wrong color profile could compromise your correction.
If you’re not sure which color profile to use, you could apply one of those handy input LUTs we mentioned earlier. Some cameras and footage formats require specific LUTs, so double-check before wading into the edit. Otherwise, the results of your color correction may not look how you’d hoped.

2. Tweak your exposure
Exposure is a solid value to focus on next, as incorrect brightness can cause all kinds of issues elsewhere. As a rule of thumb, dial the exposure up or down until it looks good on people’s faces.
You can do this by playing with the four color correction wheels. Lift, Gamma, and Gain control individual factors, while the Offset option adjusts the entire image.
Offset is the value you’ll need to change first, to make those human faces look lovely and, well, human. Once you’ve done that, you can use the Lift, Gain, and Gamma wheels to spread brightness across the dark, middle, and bright sections of your footage.
3. Fix the white balance
Exposure directly affects color — it pays to address white balance beforehand. Ignoring this step can cause your content’s whites to tint, usually to a blue or orange hue.
Most software will run an automatic white balance adjustment. This is a great start, but you may have to use the vectorscope tool to find the sweet spot.
4. Settle on the right contrast
High-contrast edits lend your footage a sharper finish, while low contrast will make your content look blurrier. More gain and low offset boost contrast, while low gain and high offset results in low contrast.
There’s no definitive answer here — it completely depends on the type of footage you’re dealing with. Dive into your color curve, tamper with individual values, and see what serves your project best.
Once you’ve completed these four steps, you’re ready to move on to color grading. Experiment with individual colors, apply LUTs and filters, and make your visuals pop.
How to access color correction in DaVinci Resolve
DaVinci Resolve’s color correction and grading are elite-tier — award-winning movies like Everything Everywhere All At Once have used it.
To access color correction in DaVinci Resolve, you’ll need to access the Primaries section at the bottom-left of your screen. This will display the color wheels. You can also experiment with tools like Shot Match, Power Windows, Track and Follow, and more.
How to access color correction in Premiere Pro
Want to use color correction in Premiere Pro? Good news. Adobe’s powerful software gives you free range. If you’d like to work manually, you can use the Lumetri Color option to access color wheels.
If you’d rather just try things out, you can dip into Premiere Pro’s many color correction effects. Match Colors, Saturation Transform, and Color Balance (HLS) are all worth exploring.
How to access color correction in After Effects
Similar to Premiere Pro, color correction in After Effects is what you make it — head to Lumetri Color and go wild.
Or, if you’d like to play with different presets first, After Effects boasts a broad selection to match Premiere Pro. The Auto Color option automatically tweaks contrast and color; Auto Levels does the same, but for shadows and highlights; and you can use third-party, Adobe-approved Offset and Neutralizer effects, too.
Color correction gives your content a head-start in the edit, but on-screen action is just one part of the finished product. Music and sound effects are equally important, building a world that goes beyond color.
Don’t settle for second-best. Try Epidemic Sound.
Our catalog is high-quality, affordable, and safe. An Epidemic Sound subscription goes beyond royalty-free music, removing the headache of licensing and freeing you up to do what you do best.
You can enjoy the safety of our license hand-in-hand with our catalog of 50,000 tracks, covering just about every genre you can think of. You’ll also gain unlimited access to our advanced search functions — finding the right sound’s never been easier.
It’s better than royalty-free. It’s worry-free. Get started with Epidemic Sound below.

Related posts: